Shopify
In this guide, you will learn how to integrate Katpault with Shopify to provide your customers with a no-credit, lease-to-own payment option.
Before Getting Started
Before beginning your integration, please review the following:
- Online Checkout Flow
- Your current checkout process to understand how Katapult will impact operations and customers.
- Leasable Items
- Tax Exemption Management: Katapult is a wholesale merchant, and your team should review internally how to update orders accordingly.
- Deployment Checklist
- Confirm all your products have SKUs, item descriptions & item values being passed. You are responsible for ensuring all items are passed to Katapult with the correct dollar value.
Once your merchant agreement has been completed, you will receive an email with your sandbox login credentials and tokens. If you have not received your tokens, please reach out to [email protected].
Supported Versions
Shopify
Shopify Plus
Installation
Expected Timeline
Installation is quick and easy and, on average, about 30 – 40 minutes to complete.
You may grant us access to complete installation on your behalf or Katapult, and you can schedule a shared session.
Shopify Installation
There are two ways to complete the integration:
- Self-service - using a set of instructions provided by our team.
- Full Service - through Shopify collaborator access, which includes the Katapult App and pre-approval asset installation. So that you know, we will need your collaborator access request code and full access.
Please let the integration team know your preferred installation method to ensure the most efficient and seamless integration experience.
Collaborator
Step 1. Provide your Shopify URL web address
Step 2. Receive a Collaborator request from [email protected]
Step 3. Accept requests with all user right permissions
Staff Permissions
Step 1. Login to your Admin Portal - Settings - Users & Permissions
Step 2. Add Staff
Step 3. Add users details & set email to [email protected]
Step 4. Select all permissions
Your Katapult integration team will coordinate a date and time to complete the installation. If you have not received a request, please email [email protected].
Shared sessions are the quickest path to integration, allowing us to complete all steps together & minimize back-and-forth emails.
Payment Gateway Configuration
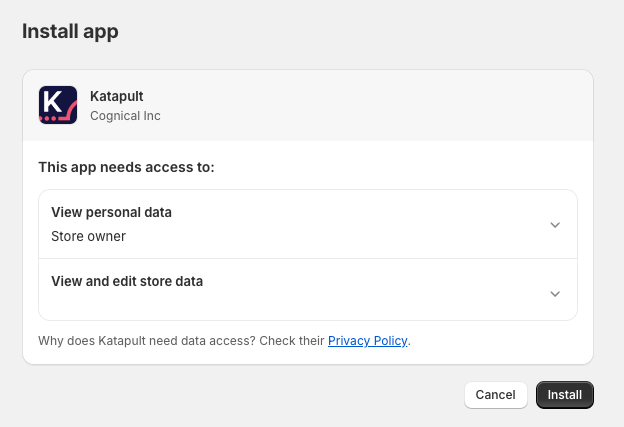
- Install our Shopify app (Contact the integration team for the marketplace link)
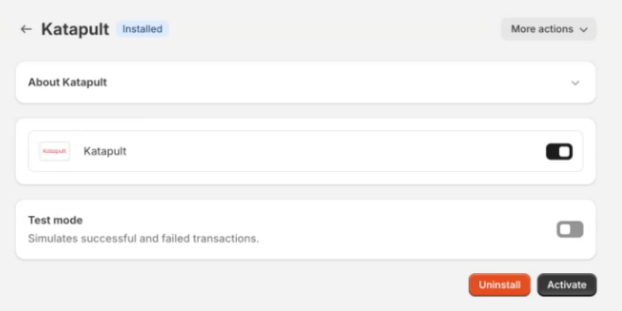
- Select Activate
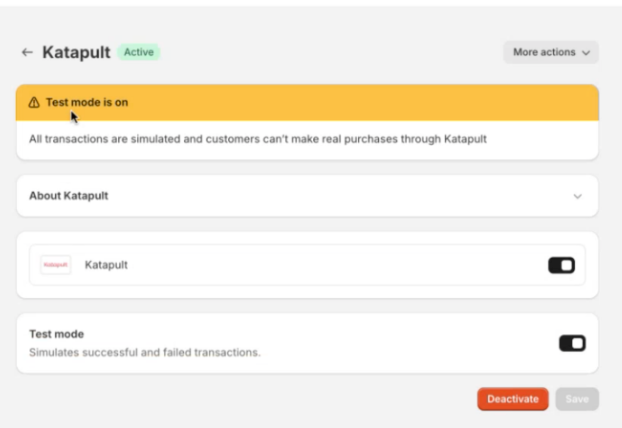
- Test flow by enabling test mode
FAQ
Katapult App Visibility in Shopify
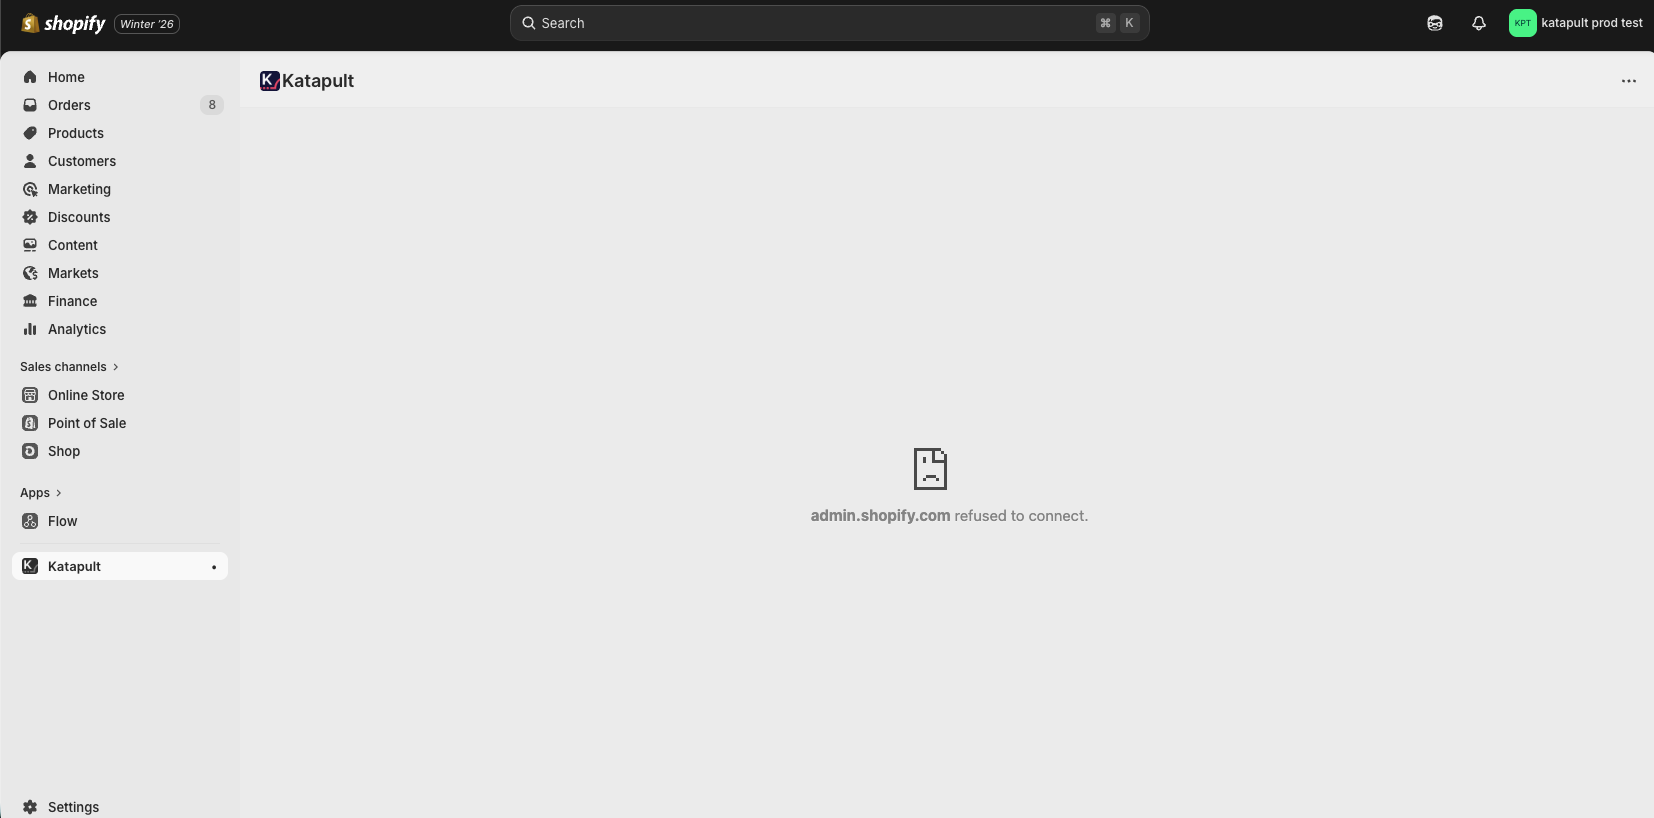
The Katapult app appears in the Apps section of your Shopify admin. When you click on the Katapult app, you will see an expected error message, as shown in the image below.
This behavior is expected. Katapult cannot be managed from the Apps section.
To enable or disable Katapult at checkout, navigate to Settings → Payments in your Shopify admin.
All Katapult lease management is handled separately in the Katapult Merchant Portal, which you can access at:
https://katapult.com/app/login
Non-Leasable Tag
At this time, non-leasable tags are unavailable on Shopify. However, we can establish a price minimum to capture non-leasable items at checkout as long as they are lower than the minimum.
Testing
Merchant Testing
We recommend that your team complete thorough testing. Our recommended testing scenarios are here. However, you must ensure your testing plan fits your setup and processes.
Katapult Testing
After completing the installation and configuration, we will coordinate testing with your team. Katapult must complete testing in your development environment before going live in production.
Deployment
Once testing is completed, we will coordinate training and set a go-live date. To coordinate a go-live date, contact your client success manager or reach out to [email protected] .
Production Configuration
Once testing is completed, Katapult will coordinate a go-live date to enable Katapult on your production site.